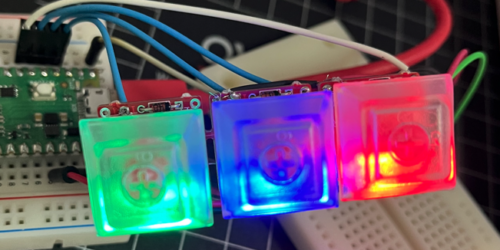
RPi Pico のMixer
Raspberry Pico でAudio Mixer を試してみる。
再生する音源
Audio Mixer で再生する音源は、以下の通り。
揃ってさえいれば、もうちょっといいSample Rateでも良さそうだけど、性能と、Storage容量の空き優先で、16000。
他の機能を追加しても大丈夫そうなら、CDと同じ 44100くらいにしたい。
最大で22000(22KHz)だった。
また、.wavファイルの最大サイズは、2MBまで。

Play a Wave File

You can use any supported wave file you like. CircuitPython supports mono or stereo, at 22 KHz sample rate (or less) and 16-bit WAV format. The M0 boards support ONLY MONO. The reason for mono is that there's only one analog output on those boards! The M4 boards support stereo as they have two outputs. The 22 KHz or less because the circuitpython can't handle more data than that (and also it will not sound much better) and the DAC output is 10-bit so anything over 16-bit will just take up room without better quality.

Since the WAV file must fit on the CircuitPython file system, it must be under 2 MB.- Channel ... 1cc(mono)
- Sample Rate ... 16000
- Sample Encoding ... 16-bit Signed Inter PCM
sox command でこんな感じ。
sox in/sample.wav -r 1600 -c 1 -e signed-integer out/sample.wavsample として、sample.wav と nya.wav をおいておく。
$ soxi sample.wav
Input File     : 'sample.wav'
Channels       : 1
Sample Rate    : 16000
Precision      : 16-bit
Duration       : 00:00:08.00 = 128000 samples ~ 600 CDDA sectors
File Size      : 256k
Bit Rate       : 256k
Sample Encoding: 16-bit Signed Integer PCMHardware
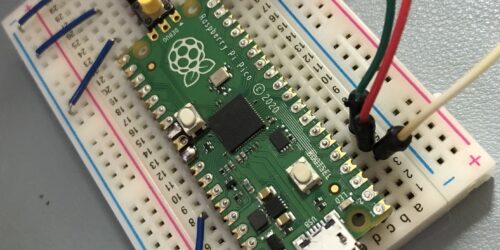
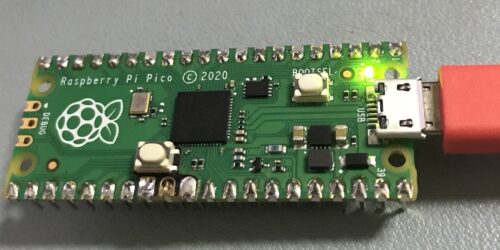
Raspberry Pi Picoだと、メモリが1MBとサンプリングデータを利用するのに、心許ない。
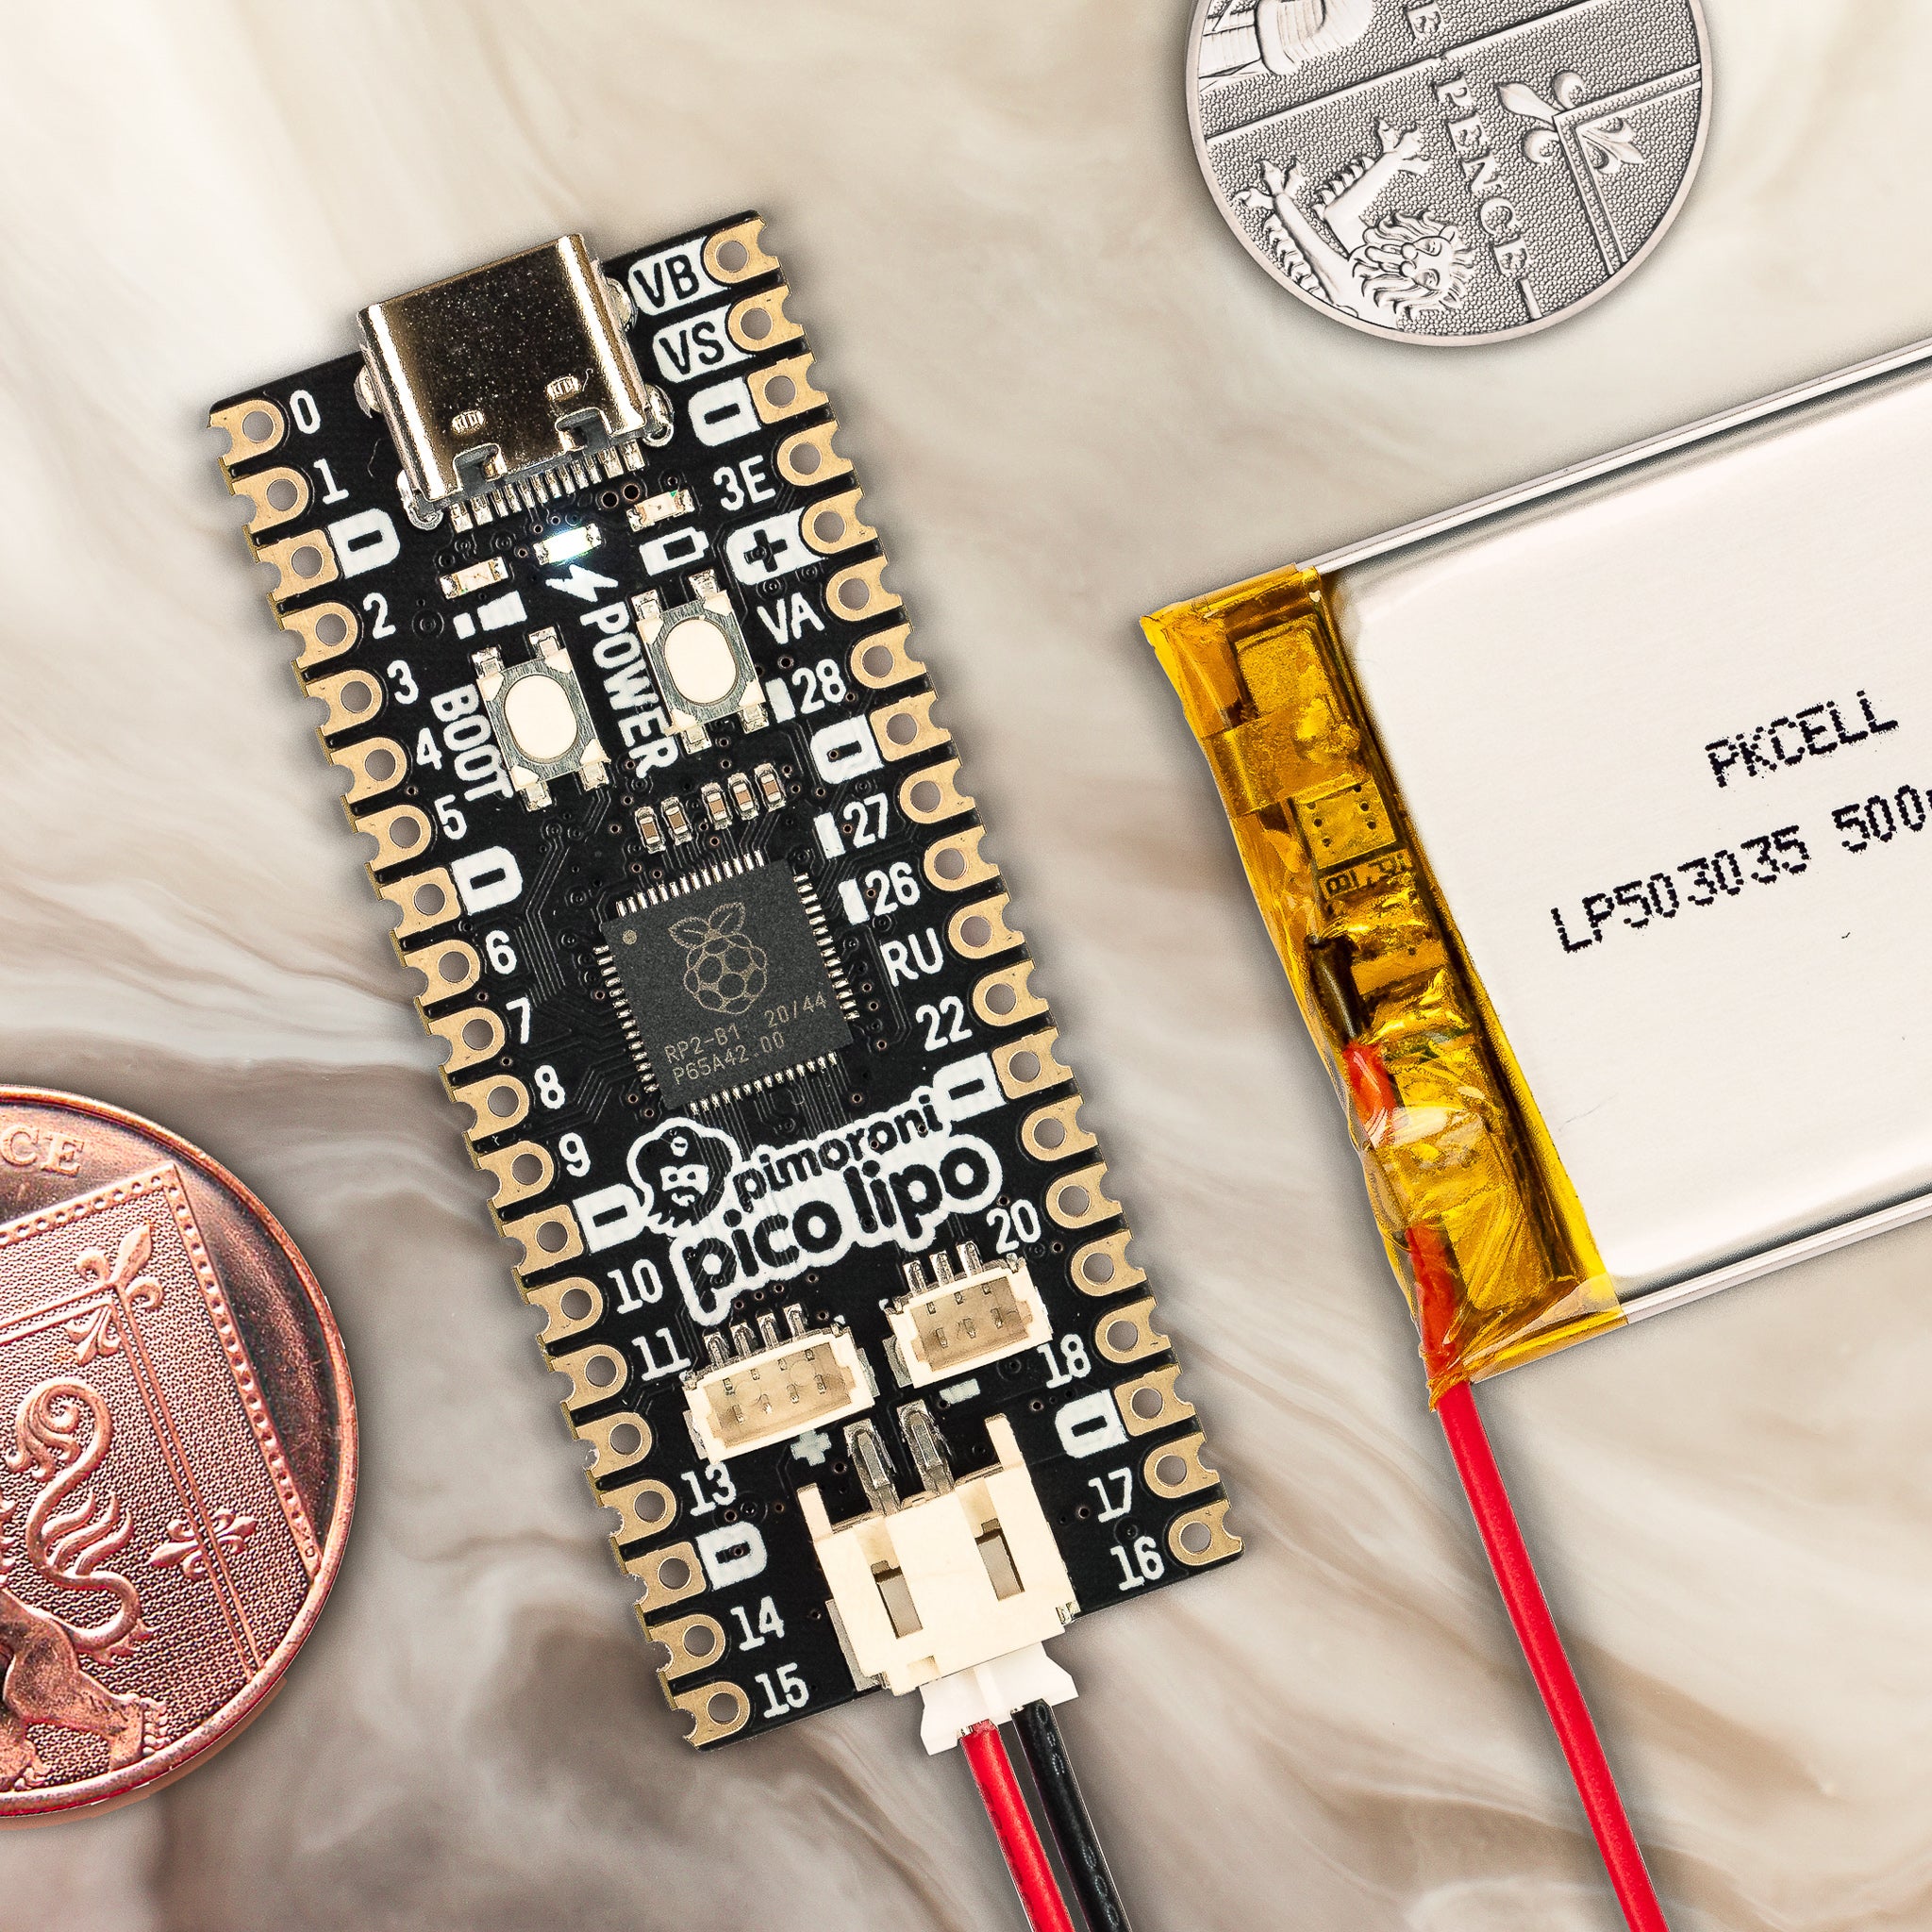
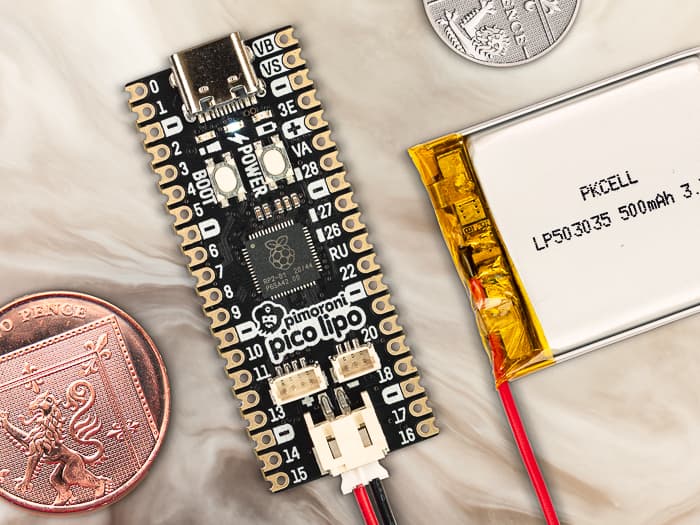
Pimoroni の16MB版を利用した。
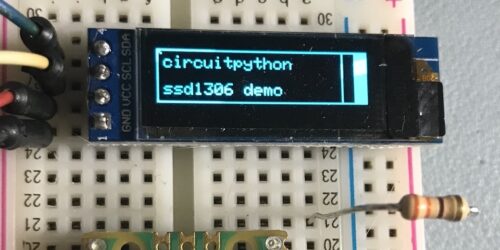
Firmware
CircuitPython の Pimoroni Pico 版
2024/01/07 時点で、 8.2.9
音源の準備
Pico のHome に上記の sample.wav と nya.wav をコピーしておく
Mac だとこんな感じ。
cp sample.wav nya.wav /Volumes/CIRCUITPY配線
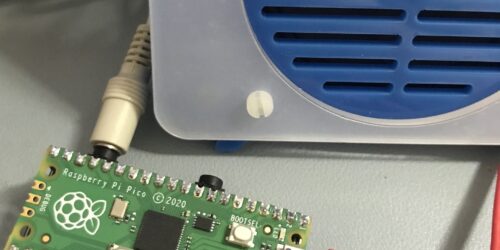
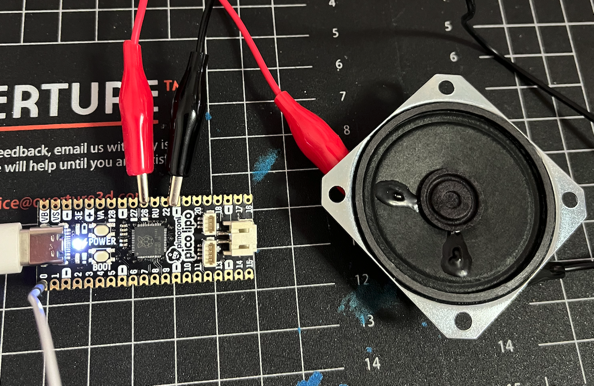
RPi Pico
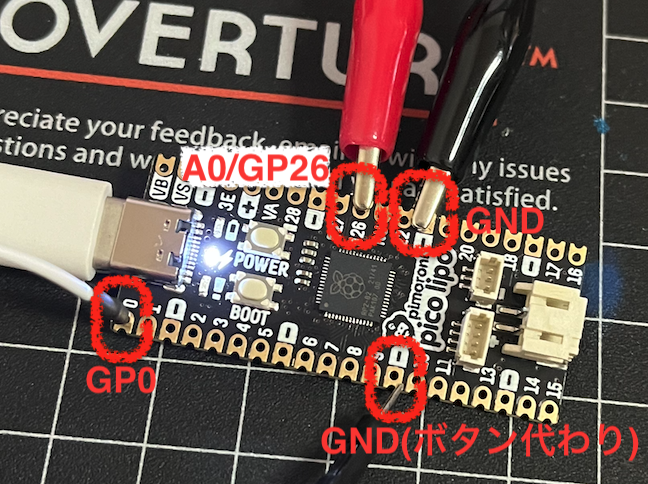
GP26をSpeakerの出力にする。
また、GP0 をボタンとして利用する。PULL UP なので、ボタンクリック動作は、配線をGNDに押しつければよい。
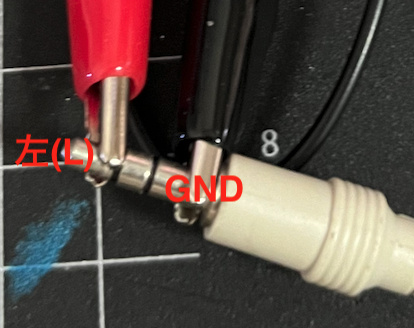
Speaker
あとでアンプを追加するつもりなので、ちょっと大げさなやつ。
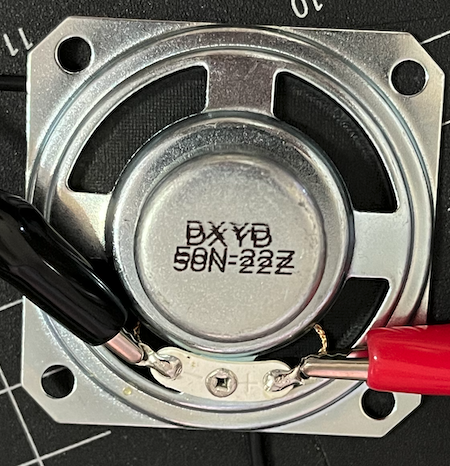
音量の調整などしたければ、そこいらのオーディオケーブル接続可能なスピーカーにこんな感じで繋いでおく。
根元がGNDだと覚えておけば、残り2個がLRなのでモノラルならどっちでもよい。